
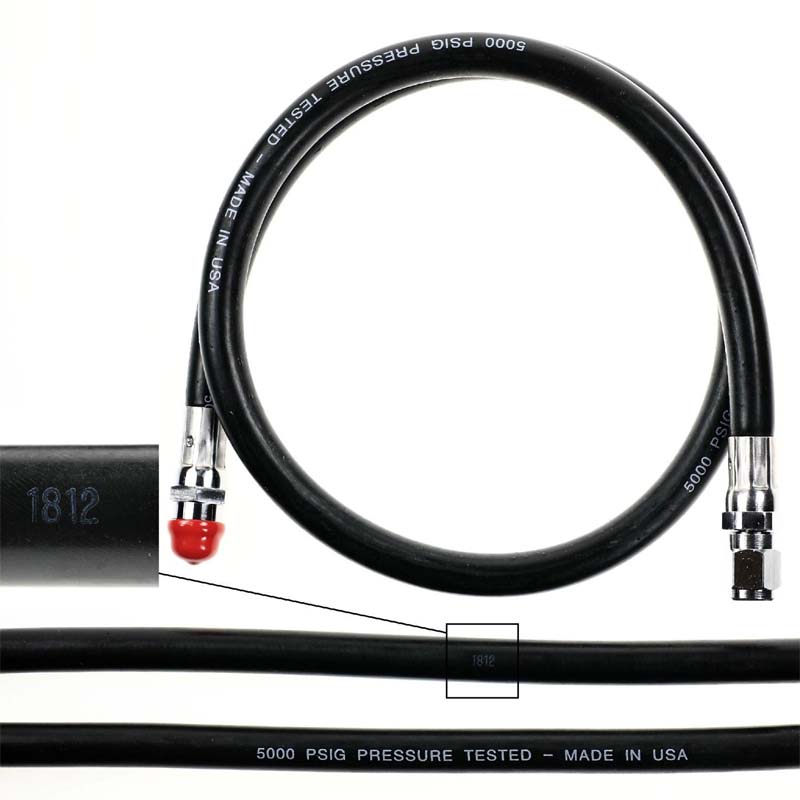
Suunto Recalls Air Hoses Used With Scuba Gear Due To Drowning Hazard
February 13, 2016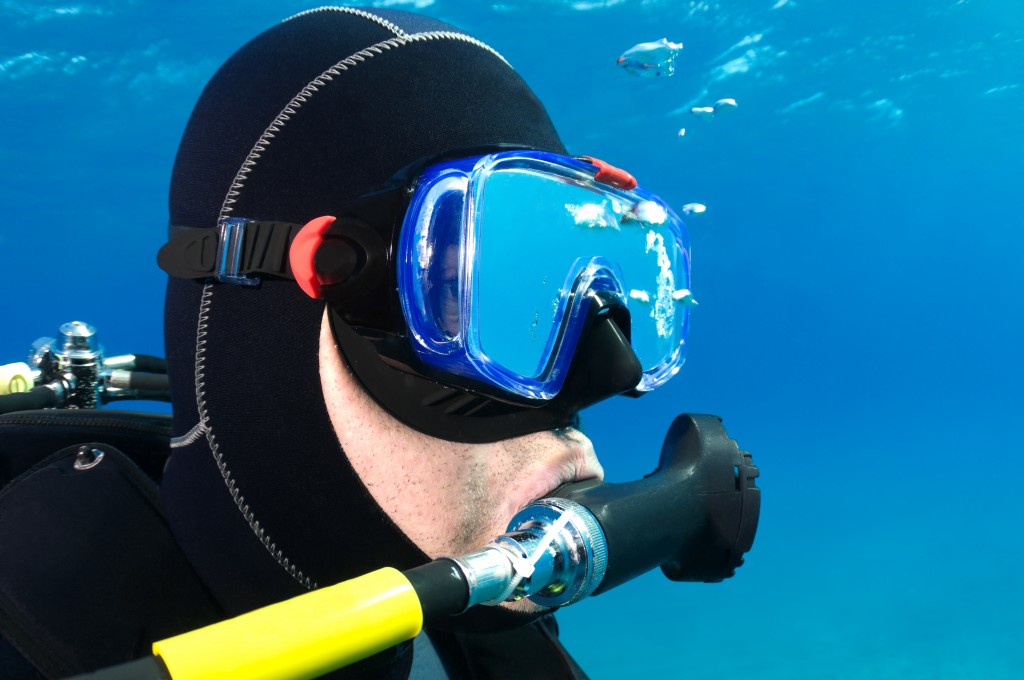
Maintaining Your Regulator
The regulator is one of the integral part of you scuba diving equipment and is required to be working correctly 100% of the time to ensure a safe diving experience. It is also a fairly sizeable investment, and should be cared for as such, to ensure many years of worry free usage. For these reasons, it is essential that you follow your manufacturer’s recommendations for caring for and servicing your regulator.
Making sure your regulator is well cared for pre and post dive is up to each owner. You should always visually inspect the regulator before and following each dive. You should properly clean the regulator following each dive, and finally you should properly handle and store your regulator in order to prolong the lifespan of your regulator.
Here are important pre-dive and post-dive steps which should be followed to ensure that your regulator stays functioning correctly in between your manufacturer scheduled servicing which we would be more than happy to help you with!
Pre-dive
- Connect Regulator to tank
After connecting your regulator to the tank take a few breaths and check your pressure gauge and ensure you are getting an accurate reading.
- Visually inspect all hoses, mouthpieces and fittings
Inspect all of the hoses to ensure there are no small cracks, holes, tears, or bulges in them. Be sure to pull back hose protectors to ensure that underneath these are in good condition as well. Also be sure to check the mouthpieces to ensure there are no cracks or rips in them. Finally, check all metal fittings for corrosion.
- Disconnect Regulator From Tank
Now disconnect the regulator from the tank and replace the dustcover. Inhale on each regulator and hold a vacuum with your mouth. Both regulators should allow a very small trickle or no air at all in as you do this.
- Check Second Stage For Cracks
Now, finally observe the second stage and ensure that there are no cracks, dents or holes that may lead to a problem.
Post-dive
- Rinse Your Regulator
Always ensure that the dust cover is firmly in place and also that the purge valves don’t get depressed when you are rinsing your entire unit in clean, fresh water.
- Rinse Second Stage
After dunking the whole unit in clean fresh water, it is time to rinse the second stages. To do this run warm water through the mouth pieces and out the exhaust diaphragm.
- Rinse Low Pressure Inflator Fitting
- Make sure that you rinse the fitting that connects to your BCD very well. To do this, work the coupling back and forth under warm running water to ensure that it never gets seized.
- Air Dry
Make sure to store your regulator in an environment that allows it to dry and not become home to mildew or mold.